We are in the generation of social media; even though we are not models, we love the most perfect photographs on our social media accounts. Gaining popularity through social media by posting amazing photos has become easy these days because most people have become an expert in editing a picture that makes it perfect.
If you don’t know how to add effect through Adobe Photoshop, keep reading this article to know a more exciting thing. Also, learn how to do Product reflection, Photoshop and more. It is easy to use Adobe Photoshop once you know the proper steps and flip a layer of effect or Photoshop review.
Let’s quickly go through the steps so that you can have more control over Photoshop and will be able to add reflections to your product photograph.
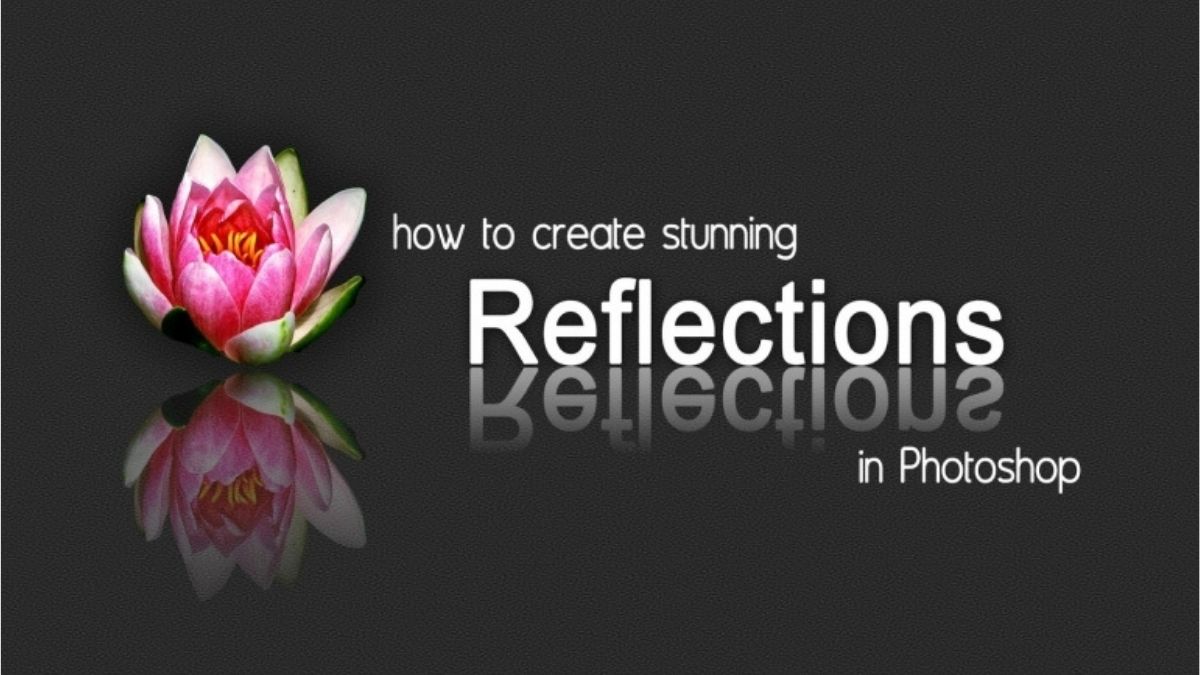
How you can mirror an image in Photoshop
Although there are several methods and ways of making reflection images in Photoshop here, we’ll discuss a straightforward manner. You’ll find each step having alternative ways of giving a similar result.
So, let’s learn to add a water reflection to any suitable image with the step-by-step procedure without taking much time. Let’s follow the most straightforward step, which is primarily for quick readers and skimmers.
- Copy: The first step is to draw a box using the marque tool around a particular area of the selected image in which you want to create the reflection. Also, ensure that you covered all the image edges, getting enough space for the image vertically. You do not have to worry if you have grabbed more than is required as that part will be masked later.
Finally, you need to copy the selection as a new layer.
- Create or Paste New Layer: This method is the continuation of the earlier strategy so, if you have copied the layer as instructed in the above point, then you can easily paste the layer as a new layer. If you have used some other method where you directly can’t paste the layer then, paste from Edit>Paste Menu option ctrl+v/command Of the keyboard shortcut. This is just the essential thing; the actual magic will begin now. Looking at your layers, you’ll find that it is on the new layer, which only grabbed a specific part of the image.
- Flip the layer: The next step is to choose from your Edit menu “Edit>Transform>Flip vertically”, by which you later will flip upside down. Yes, it will end up looking like something funny.
- Position the Layer: Now, you’ll have to go for the next step to position your layer. You have to do is- From your tool palette, select your MOVE tool or “v” keyboard shortcut. You need to grab the image you flipped in the last step and try to drag it down till it starts to line up, and that is where the reflection begins. Now, you’ll find the reflection to be roughly in the correct position. Please make sure you drag it down, not side to side. Otherwise, it will leave gaps in the edges of the reflection.
- Change the Blend mode: The last but not the minor step is to change the blend mode to one of the “lighten mode” from your layers panel. The layers blend modes are usually near the top of the Layers panel; search if still haven’t found it, then search for “opacity”, which is just next to it. You’ll fund the lighten mode in the third section down.
You’ll be able to make a reflective shadow that looks closer to a rear reflection.
- Mask the Layer: Now, we are at the final step, which is masking the layer. You need to click on the “add layer mask” icon, which is at the bottom of the Layers menu>Layer mask, to make a layer mask. The next step is to select the gradient tool but not the paint bucket. Select the background colours to default by hitting the “d” key, later hitting the “h” key switch. Make sure that you are on the layer mask but not on the layer. Now, you can apply it to your reflection by staring with the crosshair for the tool at the bottom of the image.
Conclusion
To capture the reflection on a camera can be a tough job than to make a light reflection in Photoshop. You can utilize your Photoshop skills to enhance somewhat dull photography to create an exciting mirror image. But, you need to know which photograph will be suitable for creating a reflection in Photoshop. I hope you’ll find this article helpful for making you understand the techniques, and after practising it, you’ll be able to add those to your product photography


Visit
Hello, I would like to thank you for sharing this interesting information, the tips provided for flashing the ROM will be useful for a lot of people. I was actually looking for a reflection of my life essay, nevertheless, I like it a lot.
Health
Wellness
Safety
Parenting
Precautions
Skin Care
Hair Care
Relationship
Makeup
Hairstyles