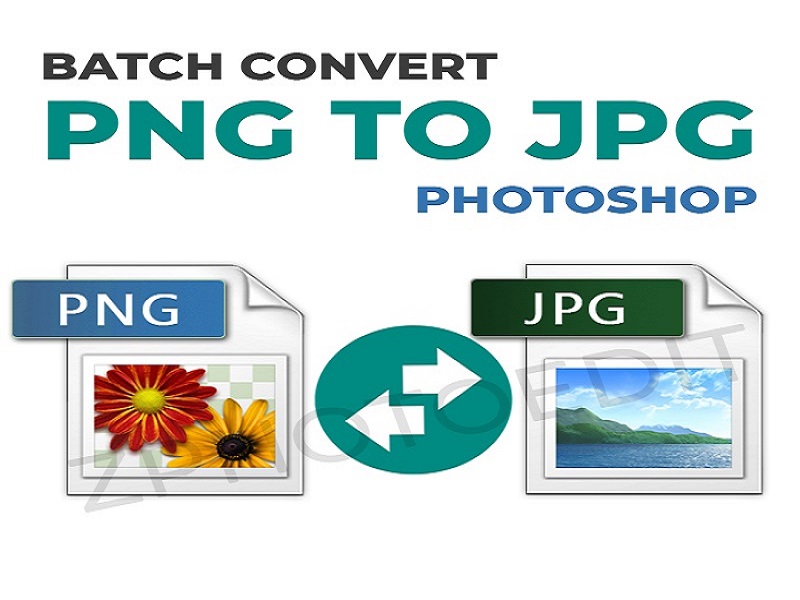
In the early days, converting photos in bulk from one format to another could make one feel annoyed because of the tedious work. Different expensive software had to be installed to get the job done. The image-editing software that will be the most convenient for bulk image converter from png to jpg free is Photoshop. The images stored in PNG format keep the image in the best quality, but it takes up a lot of space. On the other hand, images in JPEG format make the image size much less, maintaining the same excellent quality. Photoshop is the best tool for the work because it does so without degrading the quality of the image.
By following the next few steps, one can quickly bulk convert png to jpeg:
- 1. Keep the images ready, which are to be converted in bulk in a folder named PNG, to make things easy. So when required, one has to just click on it. Create another empty folder named JPG, where one can easily store the images after being processed.
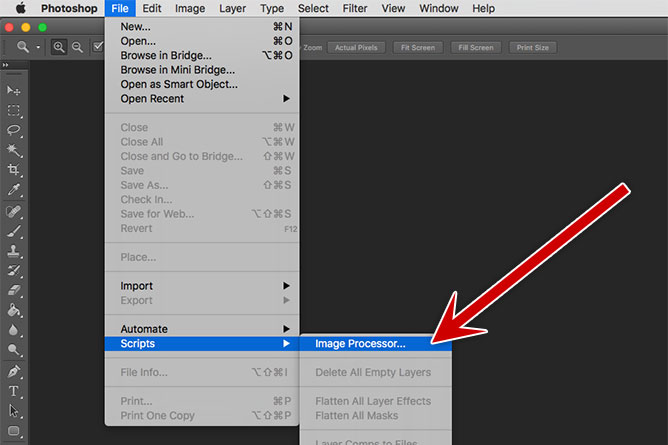
- 2. After opening Photoshop, click on ‘File.’ One will find options like Open, New, Export, Automate, Scripts, and so on.
- 3. Click on ‘Scripts.’ Out of the options like Image Processor, Script Event Manager, Load Files into Stack, Browse, etc. Click on ‘ Image Processor.’
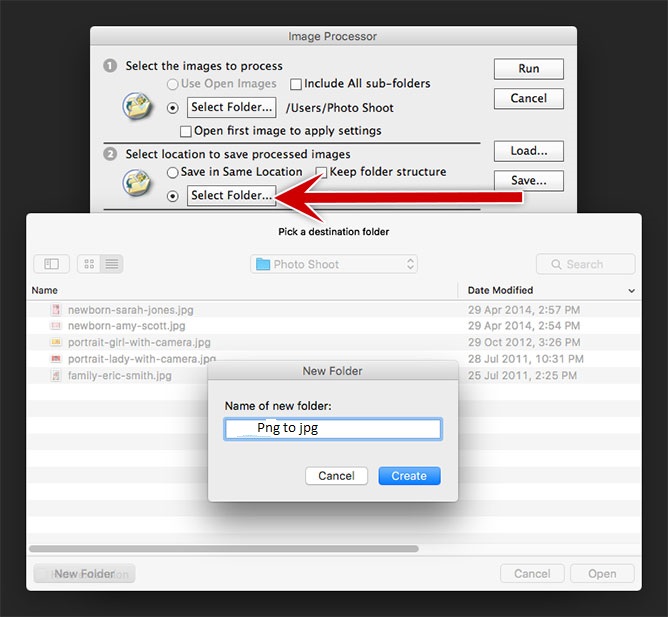
- 4. A pop-up window appears on your screen. On it, one has to select the folder where the images to be converted are kept.
- 5. After that, one has to click on the location they want to save the image files after being converted into jpg format. (Select the empty folder which was earlier created and named JPG). If one wants to keep their converted image files in the same location, one may. The image files will get saved in the same place but a new folder, where all other jpg conversions are stored.
- 6. In the same pop-up window, appears the file type- save as JPG, save as PSD, and save as TIFF.
- 7. Select on Save as JPG. To maintain the excellent image quality, one may keep up the ‘Quality’ to 10, or whatever required.
- 8. If one wants, they can select the option ‘Convert Profile to sRGB.
- 9. One can resize their jpg images files if they wish to. It is mostly done so that one can match the requirements of the social media to their required jpg images.
- 10. (Optional) If one wants to add more features to it, down at the bar, there are many preferences, click on Action. The options like Vignette, Frame Channel, Wood Frame, Cast Shadows, and so on will appear. One can choose whatever effect they want on their images.
- 11. After completing every necessary process, click on the ‘Run’ button.
After clicking on ‘Run,’ it will show in the background, the images are getting batch convert png to jpg in Photoshop. The image files are saved in the proper location selected by one. Thus, it is easy to convert files in bulk by a few clicks.